
Life Style
Common Trekking Mistakes to Avoid in Nepal


Trekking in Nepal looks simple from a distance—walk a trail, stop at villages, wake up to mountain views, repeat. But once you are actually on the trail, it becomes clear that it’s less about distance and more about how you manage altitude, energy, and pace over several days. Most problems don’t come from the trail itself; they come from small decisions that add up.
Here are the mistakes that tend to catch trekkers off guard—and how they actually play out on the ground.
Going Too High, Too Fast
The most common mistake in Nepal isn’t gear, fitness, or even navigation. It’s speed—specifically, how quickly people gain altitude.
Above 2,500 meters, your body starts adjusting to thinner air. This process takes time, and there’s no shortcut. You can be physically fit and still struggle if you ascend too quickly. That’s why experienced trekkers don’t think in terms of distance covered but in terms of elevation gained.
The itineraries for the treks on the longer routes, like the Manaslu Circuit Trek, are designed around this concept. You’ll notice planned stops where the distance isn’t long, but the purpose is clear—stay at a certain height, walk a bit higher during the day, and come back down to sleep.
The early days may seem easy, which can be misleading. You are walking through lower villages; breathing feels normal, and it’s tempting to move faster. The effect of altitude often shows up later, usually when you are already higher than your body is ready for.
Treating Acclimatization Days as Optional
It’s easy to look at an itinerary and think a rest day is just a buffer—something you can skip if you feel good.
On the trail, it doesn’t work like that. That is because acclimatization days aren’t about resting in the strict sense. You still walk, just not too high or too far. The goal is to help your body adjust gradually. Without these breaks, you are stacking altitude gain day after day, which increases the chance of headaches, poor sleep, or worse.
Guides from Radiant Treks have often noticed this mistake on longer treks: people feel fine in the lower villages and start cutting rest days before the altitude has really begun to show its effect.
You’ll often see people try to “optimize” their schedule by removing these days. It might save time on paper, but in practice, it often leads to delays. Either they slow down later, or they have to descend and lose days anyway.
Starting Too Fast in the First Few Days
The first couple of days of a trek feel deceptively easy. The air is thicker, the trails are wider, and your energy is high. That’s usually when people walk too fast.
The problem isn’t just fatigue. Moving too quickly early on affects how your body adapts later. It raises your exertion level before your body has settled into the rhythm of walking day after day.
If you watch experienced trekkers, they move at a steady, almost slow pace. They are not trying to reach the next village quickly—they are trying to maintain a pace they can repeat for a week or more. That consistency matters more than speed.
Packing for ‘What If’ Instead of Reality
Many trekkers arrive in Nepal prepared for every possible situation—and end up carrying things they never use.
Heavy jackets, multiple changes of clothes, and extra gear “just in case I might need them.” But it adds up quickly, especially when you are walking uphill for hours.
In practice, what works best in the Himalayas is a simple layering system. Mornings can be cold, afternoons warm, and evenings cold again. Instead of one heavy solution, you adjust throughout the day.
After a few days on the trail, most people realize they are wearing the same core items again and again. The rest just becomes extra weight.
Not Drinking Enough
Hydration is one of those things people underestimate because it doesn’t feel urgent.
At high altitude, your body loses more water through breathing and movement. You may not feel sweaty, but you are still dehydrated. That, in turn, makes it harder for your body to adjust to altitude.
It also affects energy levels. Headaches, fatigue, and even appetite loss can be linked to not drinking enough.
On most treks, a rough baseline is to drink around 3 to 4 liters of water a day. It sounds like a lot, but when you are walking for several hours, it becomes necessary.
Ignoring Early Symptoms
One of the more serious mistakes is brushing off small symptoms.
A mild headache, a bit of nausea, or feeling unusually tired—these are easy to ignore, especially if everyone else is still moving. But in the mountains, small signs matter.
Altitude-related issues don’t always escalate slowly. Sometimes they build quietly and then get worse quickly. The safest response is simple: don’t push higher if something feels off.
Trekkers who manage this well aren’t the ones who never feel symptoms—they are the ones who respond early.
Underestimating Daily Effort
People often think of a trek in terms of total distance or the number of days required to complete it. What they don’t always expect is how each day feels.
For instance, a short trekking day on paper can still involve several hours of walking, often uphill. Trails aren’t always flat or predictable. Add altitude to that, and even simple sections can feel harder than expected.
In addition, facilities also become simpler as you go higher. Rooms are basic, heating is usually only in the dining area, and things like hot showers or charging come at an extra cost—if they are available at all.
Once you accept this rhythm—walk, arrive, eat, rest—it becomes easier to settle into the experience.
Not Adjusting Food Habits
Food matters more than most people expect on trekking trails in Nepal. But at higher altitudes, your appetite often drops. Nonetheless, your body still needs energy to keep going. If you skip meals or eat too little, tiredness builds up over the next few days.
So, what is available? You should opt for simple meals like rice, lentils, and noodles that usually work best. They are light and easy to digest, and you will find them in most teahouses. Heavy or oily food can make you feel uncomfortable, so it is better to avoid it.
Snacking between meals also helps. A small bite along the way keeps your energy steady, so you don’t feel drained halfway through the day.
Misjudging Weather and Timing
The weather in the mountains doesn’t follow a strict pattern—it is unpredictable.
Mornings are usually clear, and thus most treks start early. By afternoon, clouds can roll in, temperatures drop, and visibility can change quickly.
Trekkers who start late often end up walking in less stable conditions. It’s not always dangerous, but it can make the day harder than it needs to be.
Being flexible also helps. Sometimes waiting a few hours—or even a day—can really help.
Choosing the Wrong Approach for Your Time

Not everyone has the time or interest for a long, multi-week trek, and this is where people often go wrong.
Trying to fit a long route into a short trip usually means you end up rushing. The days feel packed, you are always thinking about the next stop, and it takes away from the whole experience.
The Everest trekking and scenic helicopter return may be one of such options. It is a better fit for those who prefer to enjoy the Himalayan scenery without committing to a multi-day trek.
At the same time, some people realize along the way that what they really wanted was to see the mountains, not necessarily spend days walking to get there.
In that case, it is better to choose a route or travel style that matches your time, fitness, and expectations. For instance, you can enjoy the Himalayan scenery without being a part of a multi-day trek if you choose the Everest helicopter tour experience.
Overall, it’s not about choosing the harder option. It’s about choosing what actually suits your time and the kind of trip you want.
Final Thoughts
Most mistakes related to trekking in Nepal don’t come from a lack of effort. Rather, they are the result of misunderstanding how the environment works.
One should understand that the mountains don’t reward speed or overconfidence. They reward patience, steady pacing, and small, consistent decisions.
If you slow things down, pay attention to how your body responds, and stay flexible with your plan, the experience changes completely. What could have been a struggle turns into something far more manageable—and far more memorable.






Fashion is rarely one-size-fits-all, and nowhere is that more evident than in the world of custom apparel. Whether you are dressing for a sun-soaked holiday, a casual weekend, or a branded team event, the right custom t-shirt can anchor your entire wardrobe. Today, more people are turning to personalised clothing not just as a novelty, but as a genuine expression of identity, culture, and lifestyle. The custom t-shirt industry has evolved dramatically, offering everything from bold graphic prints to minimalist designs that work across seasons and settings.
Why Custom T-Shirts Have Become a Wardrobe Staple
The humble t-shirt has always been a canvas for self-expression. From band merchandise in the 1970s to political slogans in the 1990s, printed tees have long carried cultural weight. What has changed in recent years is the accessibility of customisation. Advances in digital printing, screen printing, and embroidery technology mean that individuals, small businesses, and large organisations alike can produce high-quality custom garments without needing to order in the thousands. This democratisation of design has made the custom t-shirt one of the most versatile and sought-after items in modern fashion.
Beyond personal style, custom t-shirts serve a wide range of practical purposes. Sports teams use them to build unity and identity. Businesses use them as walking advertisements. Event organisers use them to create memorable experiences. Families use them for reunions and celebrations. In each case, the garment does more than cover the body — it communicates something meaningful about the wearer and the group they belong to.
The Influence of Travel and Climate on Custom Apparel Choices
One of the most interesting drivers of custom t-shirt demand is travel. When people visit warm-weather destinations or relocate to sunnier climates, their clothing choices shift significantly. Lightweight fabrics, breathable cuts, and vibrant prints become priorities. This is particularly relevant for destinations like Australia, where the climate demands a wardrobe built around comfort and versatility. Understanding what to wear in Australia reveals just how central the t-shirt is to everyday dressing in warm, active environments — and why so many travellers and residents seek out custom options that reflect both local culture and personal taste.
The connection between climate and custom apparel extends beyond practicality. Warm-weather fashion tends to embrace colour, pattern, and personality in ways that colder climates often suppress. A custom t-shirt designed for a beach holiday or an outdoor festival carries a different energy than one made for a corporate event — and the best custom apparel providers understand how to translate that energy into a finished product.
Tropical Prints and the Rise of Statement Tees
Few trends illustrate the expressive power of custom apparel better than the resurgence of tropical and Hawaiian-inspired prints. Once considered purely novelty items, bold floral and island-themed designs have made a significant comeback in mainstream fashion. According to a detailed look at the evolution of Hawaiian shirts in contemporary style, these prints have transcended their kitsch origins to become genuine fashion statements embraced by designers, celebrities, and everyday wearers alike. The same creative energy that drives Hawaiian shirt culture is now being channelled into custom t-shirt design, with individuals commissioning bespoke tropical prints that reflect their personal aesthetic.
This trend speaks to a broader shift in how people think about clothing. Rather than buying off-the-rack items that approximate their vision, more consumers are investing in pieces that are exactly what they want — in terms of colour, pattern, fit, and message. Custom t-shirts are uniquely positioned to meet this demand because they offer complete creative control without the complexity or cost of bespoke tailoring.
Designing a Custom T-Shirt That Stands Out
Creating a custom t-shirt that genuinely stands out requires more than uploading a logo or slogan. The most effective designs consider the relationship between artwork and garment — how the colours of the print interact with the fabric colour, how the placement of the design affects visual balance, and how the overall aesthetic aligns with the intended purpose of the shirt. Typography, illustration style, and print technique all play a role in determining whether a custom tee looks polished and intentional or rushed and generic.
For those without a background in graphic design, working with an experienced custom apparel provider is invaluable. The best providers offer design support alongside production, helping clients refine their ideas into print-ready artwork that translates beautifully onto fabric. This collaborative approach is what separates truly memorable custom t-shirts from forgettable ones.
Fast Turnaround Without Compromising Quality
One of the most common frustrations with custom apparel is the gap between what is promised and what is delivered — both in terms of quality and timing. Many providers offer attractive prices but struggle to meet deadlines or maintain consistent print quality across large orders. For businesses, event organisers, and individuals with firm timelines, this unreliability can be a serious problem. Fast Shirt Factory addresses this challenge directly by combining rapid production capabilities with a commitment to quality that does not waver under pressure. Their streamlined process ensures that custom t-shirts are produced efficiently and delivered on time, making them a trusted choice for customers who cannot afford to compromise on either speed or finish.
What to Look for in a Custom T-Shirt Provider
Choosing the right custom apparel partner involves evaluating several key factors. Print quality is paramount — the design should be crisp, vibrant, and durable enough to withstand repeated washing without fading or cracking. Fabric quality matters equally, as the best print in the world will not compensate for a shirt that feels uncomfortable or loses its shape after a few wears. Turnaround time, minimum order quantities, and customer service responsiveness are also critical considerations, particularly for time-sensitive projects.
Transparency is another important marker of a reliable provider. Clear pricing, honest timelines, and straightforward communication about what is and is not possible within a given budget all contribute to a positive customer experience. Providers who invest in these qualities tend to build long-term relationships with their clients rather than relying on one-off transactions.
Custom T-Shirts as a Long-Term Investment
It is worth reframing how we think about custom apparel. Rather than viewing a custom t-shirt as a disposable or purely functional item, consider it an investment in identity and communication. A well-designed, well-made custom tee can serve as a brand ambassador, a conversation starter, a team-building tool, or simply a piece of clothing that brings genuine joy to the person wearing it. When produced with care and intention, custom t-shirts have a longevity — both physical and cultural — that mass-produced garments rarely achieve.
Conclusion
The custom t-shirt sits at the intersection of fashion, identity, and practicality. Whether inspired by tropical travel aesthetics, team spirit, brand promotion, or pure creative expression, a thoughtfully designed custom tee has the power to communicate something genuine about the person or organisation behind it. As the industry continues to evolve — with faster production, better printing technology, and greater design accessibility — the barrier to creating truly exceptional custom apparel has never been lower. The key is choosing the right partner, one who understands that speed and quality are not opposites but complementary goals in the pursuit of great custom clothing.

Hair loss around the front of the scalp can be particularly noticeable. Even when the crown and back of the head still have plenty of hair, thinning around the hairline or temples can change the way your hairstyle looks and make certain styles more difficult to achieve.
For women dealing with this type of hair loss, a hairline topper can be a practical way to add coverage and fullness exactly where it is needed. Unlike a traditional topper designed to cover a larger area of the scalp, a hairline topper focuses primarily on the front of the head and can blend with your existing hair.
But is a hairline topper right for everyone? Not necessarily. The best option depends on where your hair is thinning, how much coverage you need, and how much natural hair you have available for blending.
What Is a Hairline Topper?
A hairline topper is a smaller type of hair topper designed specifically for areas such as the front hairline, temples, and sides of the forehead.
Because it covers a more limited area, the back and crown of your head remain uncovered. Your own hair can then be blended with the topper to create a fuller-looking hairline while maintaining a natural appearance.
Some hairline toppers use a halo-wire attachment instead of traditional clips. The thin wire sits around the head and helps hold the piece in place without requiring clips, glue, or combs. This can be particularly useful for people who want a lightweight attachment method or prefer to avoid placing tension directly on fragile hair around the hairline.
Who Can Benefit From a Hairline Topper?
1. Hair Loss Concentrated Around the Hairline
If most of your hair is still relatively full but the front hairline has become thinner, a small topper may provide the coverage you need without covering the rest of your head.
This can be helpful for women experiencing a receding hairline or reduced density around the forehead and temples. Instead of using a larger hairpiece to cover areas that do not need additional coverage, a hairline topper targets the area where you want more fullness.
2. Thinning at the Temples
Hair loss around the temples can be difficult to disguise, especially when wearing your hair away from your face.
A properly fitted hairline topper can add density to these areas and help create a more balanced transition between the front of the topper and your natural hair. For localized thinning, this type of targeted coverage may be more convenient than wearing a full wig.
3. Frontal Hair Loss Associated With FFA
Frontal Fibrosing Alopecia (FFA) commonly affects the frontal hairline and can also involve the temples. When hair loss is mainly concentrated in these areas while the rest of the scalp still has good coverage, a hairline topper may be worth considering.
For anyone experiencing ongoing or changing hair loss, however, product choice should be based on the current condition of the hair and scalp rather than the diagnosis alone.
4. Naturally Fine Hair at the Front
Not every thinning hairline is related to a specific hair-loss condition. Some women simply have less density around the front of their scalp due to genetics, aging, hormonal changes, or years of styling.
If you still have enough hair around the crown and back, a smaller topper can add the appearance of fullness without requiring full-head coverage.
When Should You Consider a Larger Topper Instead?
A hairline topper is designed for targeted coverage, so it may not be the best solution when hair loss extends significantly beyond the front of the head.
Hair Loss Across the Crown or Top of the Scalp
If thinning has progressed beyond the hairline and into the crown, a larger-base hair topper may provide better coverage.
The goal is to make sure the base of the topper covers the areas that actually need additional density. Choosing a piece that is too small can leave visible areas of thinning uncovered and make blending more difficult.
Widespread or Diffuse Hair Loss
For women experiencing thinning across a larger portion of the scalp, a small frontal piece may not provide enough coverage.
In this situation, consider a larger hair topper designed to cover more of the top of the head. If hair loss becomes more extensive and there is not enough natural hair available for blending or attachment, a wig may be a more suitable option.
What About Very Short Hair?
Your existing hair also matters.
Hair toppers generally work best when there is enough natural hair around the covered area to help with blending and styling. If the hair around your sides or front is extremely short, creating a seamless transition may be more challenging.
That does not automatically mean a topper is impossible. It simply means you may need to consider the attachment method, base design, and amount of coverage more carefully.
How to Choose the Right Hair Topper for Your Hair Loss
Once you know where your hair is thinning, the next step is choosing a topper that matches your coverage needs.
Consider these factors:
Coverage area: Measure the area where you need additional density rather than choosing a topper based only on appearance.
Base size: A larger base provides more coverage, while a smaller base can be lighter and more targeted.
Attachment method: Clips work well for many users, while a halo-wire or other attachment option may be preferable for those who want less tension around the hairline.
Hair color and texture: The closer the topper matches your natural hair, the easier it will be to blend.
Hair type: Human hair toppers offer more flexibility for styling and can be a good option when you want the piece to behave similarly to your own hair.
Hairline Topper vs. Full Wig: Which One Do You Need?
The simplest way to think about the difference is coverage.
If your main concern is a thinning hairline or temples while you still have sufficient hair throughout the rest of your head, a hairline topper may be enough.
If thinning extends across a larger area, a larger hair topper may make more sense. And when hair loss affects most or all of the scalp, a full wig can provide the comprehensive coverage that a small topper cannot.
There is no single solution that works for every stage of hair loss. Your ideal choice can change as your hair density and coverage needs change.
Final Thoughts
Hairline toppers can be a useful option for women who want targeted coverage around the front of the scalp without covering the entire head. They can add fullness to areas such as the hairline and temples while allowing your natural hair to remain visible elsewhere.
The key is to choose based on where your hair loss is located and how much coverage you actually need. A smaller topper can be a great fit for localized frontal thinning, while more extensive hair loss may call for a larger topper or a wig.
If you are unsure which option is right for you, consulting a professional can help you compare different base sizes, attachment methods, and hair types before making a decision.

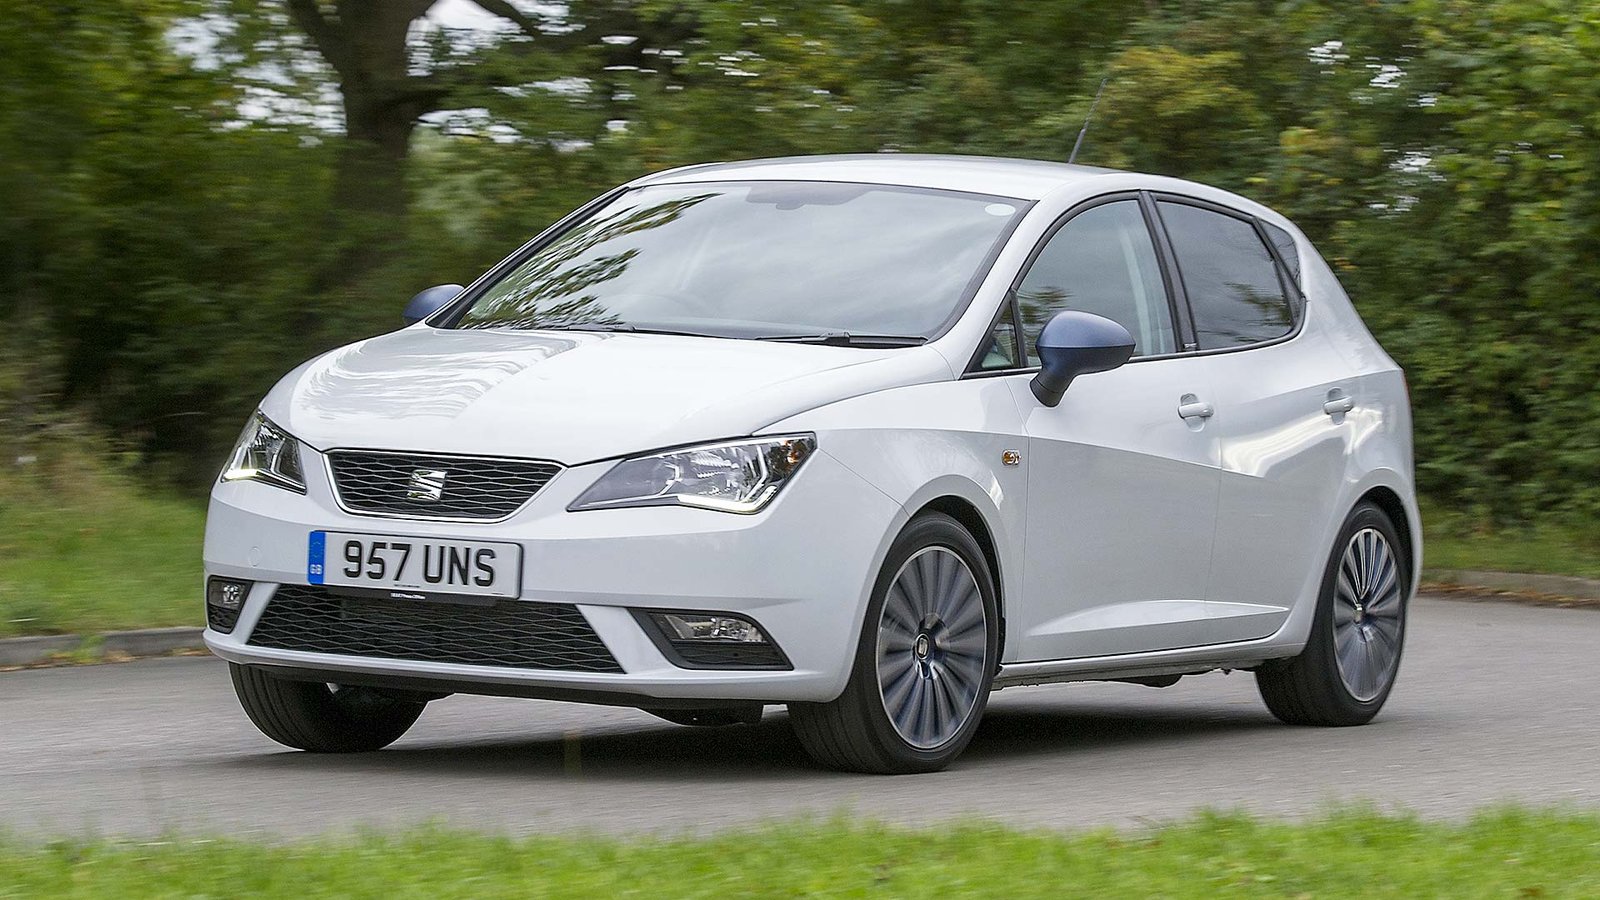
Aldershot is a Hampshire town where residential neighbourhoods, military heritage, local shopping, railway connections and major roads sit within a compact urban area. New residents often find that understanding the town layout makes both daily travel and driving easier.
For newcomers, the main practical considerations are road layout, parking, public transport, town-centre access, local traffic restrictions and connections to surrounding towns. Aldershot also sits within Rushmoor Borough, alongside Farnborough and North Camp, creating several useful travel links across the area.
What Is It Like to Live in Aldershot?
Living in Aldershot provides access to local shops, schools, transport connections, parks and residential neighbourhoods within a relatively compact town. The town forms part of Rushmoor Borough and has direct connections with Farnborough and nearby Hampshire communities.
Aldershot has a strong military identity linked to the British Army, while the modern town includes residential developments, retail areas, community facilities and regeneration projects. Rushmoor Borough Council is also developing the town centre through projects that include new homes, retail space, public areas and student accommodation.
The town centre contains key facilities around High Street, Wellington Street, Union Street and Victoria Road. These areas also have pedestrianised sections, so newcomers benefit from checking vehicle access restrictions before driving directly into the central shopping area.
How Easy Is It to Drive Around Aldershot?
Driving around Aldershot is generally straightforward on local roads, but town-centre restrictions, roundabouts, parking controls and changing traffic conditions require attention.
Several roads connect Aldershot with surrounding areas. Important local routes include:
- A325, which provides connections through Aldershot and towards Farnborough.
- A323, which links Aldershot with surrounding Hampshire routes.
- Wellington Avenue, which connects the town centre with surrounding roads.
- Victoria Road, which provides access around the central area.
- High Street, where pedestrianisation affects vehicle access.
Rushmoor Borough Council identifies multiple roundabouts across Aldershot, including the NAAFI, Ordnance, Wellington and Willems roundabouts. These junctions form important points in the local road network and often demand the most attention from less experienced drivers.
Drivers unfamiliar with Aldershot benefit from checking their route before travelling, particularly when a journey passes through the town centre. Building confidence on these specific junctions takes local practice, which is why learning to drive in Aldershot with an instructor who knows the NAAFI and Wellington roundabouts prepares new drivers for real local conditions before their test.
What Are the Main Driving Considerations in Aldershot?
The main driving considerations in Aldershot are speed limits, pedestrian areas, parking restrictions, roundabouts and traffic management. Hampshire County Council manages speed limits and traffic-calming schemes across Rushmoor, while Rushmoor Borough Council manages its own car parks.
Speed awareness is particularly relevant on residential roads. Rushmoor uses speed indicator devices to display vehicle speeds and encourage compliance with posted limits. In early 2026, monitoring on several 30 mph roads recorded average speeds ranging from 23.5 mph to 28.5 mph, depending on location.
New drivers also encounter different road environments within a short distance. A journey can move from residential streets to busier routes, roundabouts and town-centre traffic.
Where Can You Park in Aldershot?
Aldershot has council-managed car parks and controlled on-street parking areas across the town. Rushmoor Borough Council manages its car parks, while Hampshire County Council manages on-street parking, residents’ parking and other highway-related parking controls.
Council-listed car parks include:
- Birchett Road Car Park
- High Street Multi-Storey Car Park
- Princes Gardens Car Park
- Cross Street Car Park
- Union Street East Car Park
- Union Street West Car Park
- Westmead Car Park
- Parsons Barracks Car Park
Birchett Road Car Park provides 76 spaces, including 3 disabled spaces and 1 motorcycle bay. Princes Gardens Car Park provides 71 spaces, including 4 disabled spaces. Parking charges and maximum stays vary by location, so drivers can check the signs and current council information before leaving their vehicle.
Parking rules also prohibit stopping in marked restricted areas, disabled bays without the appropriate entitlement, yellow lines and other areas that create an obstruction.
What Is Driving Like Around Aldershot Town Centre?
Driving in Aldershot town centre requires particular attention because much of the centre is pedestrianised. Vehicle access is controlled through automatic bollards at several points, including Union Street, Wellington Street/High Street and Wellington Street/Victoria Road.
This arrangement affects delivery vehicles, private motorists and drivers unfamiliar with the central road layout. Some vehicle access requires advance arrangements with town-centre management.
For newcomers, the practical approach is simple: identify a suitable car park first, then walk to the pedestrianised shopping areas rather than assuming every central street permits normal vehicle access.
Can You Live in Aldershot Without Driving?
Yes, Aldershot can support car-free travel because the town has railway, bus, taxi, walking and cycling connections. Aldershot railway station is on Station Road and is managed by South Western Railway. The station provides step-free access to all platforms, lifts, cycle storage and a 207-space car park.
The railway station also connects with bus and taxi services. This gives residents alternatives for commuting, shopping and longer journeys.
A car remains useful for journeys involving outer residential areas, larger shopping trips, work locations outside the town or travel across Hampshire. However, the availability of public transport means car ownership is not the only transport option.
What Should New Drivers Know About Aldershot?
New drivers in Aldershot benefit from learning the local road hierarchy before tackling the busiest routes. Start by understanding residential streets, then practise larger junctions, roundabouts, town-centre approaches and multi-lane roads.
Useful local driving habits include:
- Check signs before entering restricted or pedestrianised areas.
- Observe speed limits on residential and main roads.
- Plan parking before entering the town centre.
- Watch pedestrians and cyclists around central streets.
- Approach roundabouts carefully and select the correct lane early.
- Check roadworks because traffic management can change local routes. Rushmoor Borough Council publishes information about current and planned roadworks across Aldershot and Farnborough.
These habits help newcomers understand Aldershot as a connected urban road network rather than a collection of individual streets.
Final Thoughts
Aldershot combines residential areas, a pedestrianised town centre, railway transport, local bus and taxi connections, controlled parking and several important road routes. Understanding the town layout, parking system and traffic restrictions makes living and driving in Aldershot more predictable.
For newcomers, the most useful starting points are Aldershot town centre, Aldershot railway station, A325, A323, Wellington Avenue and the main council car parks. Learning these connections first creates a practical foundation for travelling confidently around the town and the wider Rushmoor area.

From Sketch to Sign-Off: A Step-by-Step UX Prototyping Framework Used by Leading US Design Agencies

How do you choose the right metal for an engagement ring: platinum, gold or rose gold?

The Growing Interest in Peptides for Health and Wellness

Who Is Shameera? All You Need To Know About Charli XCX’s Mother

Who Is Gulliver Flynn Oldman? The Untold Story of Sir Gary Oldman’s Son

Meet Rosemary Turner: The Mother of Actor Callum Turner
-
Biographies8 months ago
Who Is Shameera? All You Need To Know About Charli XCX’s Mother
-
Biographies7 months ago
Who Is Gulliver Flynn Oldman? The Untold Story of Sir Gary Oldman’s Son
-
Biographies8 months ago
Meet Rosemary Turner: The Mother of Actor Callum Turner
-

 Biographies6 months ago
Who is Alexandra James? Inside The Life of Jeremy Clarkson’s Former Partner
-
 Biographies8 months ago
Who is Todd McRae? Meet Tate McRae’s Father
-
 Biographies7 months ago
Who Is Daniel Mara? The Untold Story of Kate Mara’s Private Sibling
-
 Celebrity8 months ago
Who Is Peter Hernandez? The Real Story of Bruno Mars’ Father
-
 Biographies8 months ago
Who Is Alvin Martin? All About the Whoopi Goldberg’s First Husband