Automotive & Vehicle
How to Optimise Your Workshop Layout for Better Mechanics’ Ergonomics

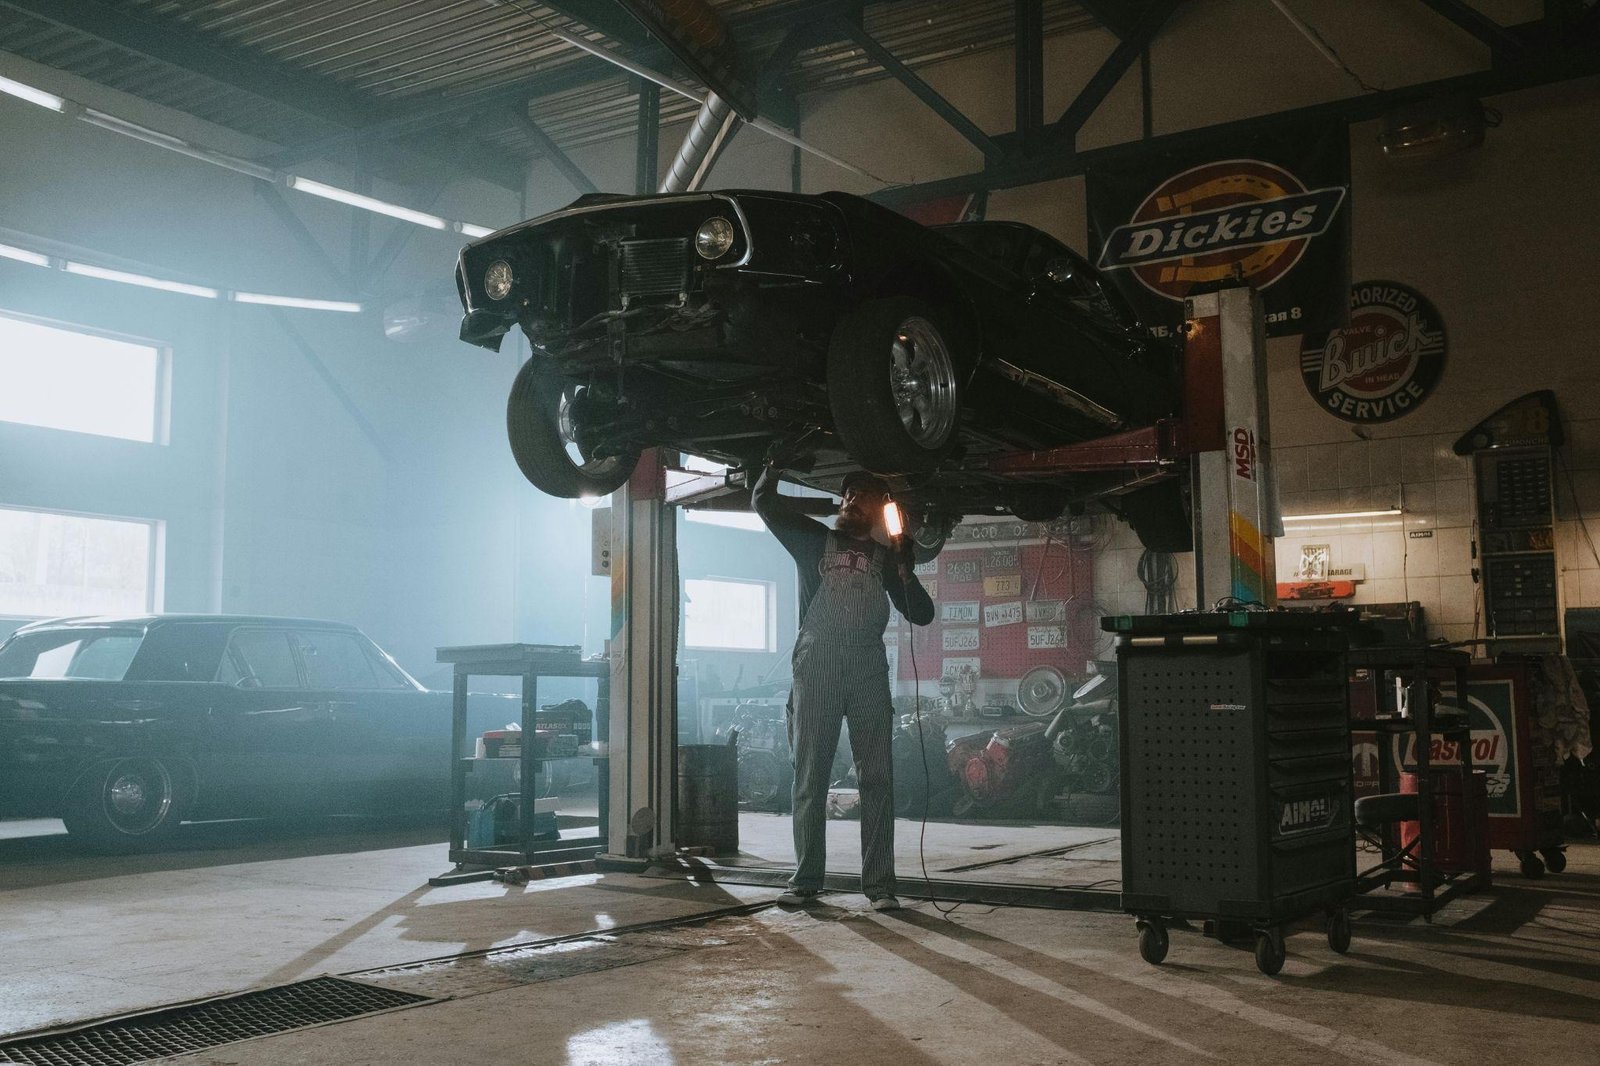
Optimising your workshop layout is one of the most effective ways to look after your team and boost your daily output. Good ergonomics isn’t just about comfortable chairs in the office. In a mechanical workshop, it means arranging your workspace so that tools, vehicles, and lighting work with the human body rather than against it.
When you design a layout that reduces unnecessary stretching, lifting, and straining, you create a safer environment where jobs get done faster and with fewer mistakes. Before you head out to buy torch equipment or new storage units, taking a strategic look at your floor plan can completely transform your daily workflow.
Clear the Floor for Smart Traffic Flow
A great layout starts with how people and vehicles move through the space. If a mechanic has to constantly navigate around obstacles just to grab a tool or reach a workbench, you are losing time and adding unnecessary physical fatigue to their day.
Every bay needs a dedicated zone that stays completely clear of parts and equipment. When a vehicle is up on the hoist, the technician should have a full 360 degrees of unhindered access. This freedom of movement stops people from twisting their bodies into awkward positions just to squeeze past a vehicle panel or a wall.
Keep your high-use machinery, like tyre changers and parts washers, central but out of the main walking paths. Grouping your equipment based on workflow sequence means a technician can move a component from the vehicle to the bench in a straight line, reducing the heavy lifting load on their lower back.
Rethink Your Workbench Heights
Workbenches are the focal point for precision repairs, component rebuilds, and diagnostic work. Unfortunately, a one-size-fits-all bench height often forces taller mechanics to hunch over, while shorter technicians have to work with elevated shoulders. Over an eight-hour shift, this leads to significant neck and upper back strain.
The ideal solution is introducing adjustable-height workbenches for specialised tear-down areas. If you are using fixed benches, aim for a height that sits just below elbow level for an average adult. This allows mechanics to keep their forearms parallel to the floor while working, which minimises strain on the wrists and forearms.
For heavy components like gearboxes or cylinder heads, make sure your layout includes dedicated lifting tables right next to the benches. Transitioning a heavy part from a trolley to a bench should involve zero manual lifting. By using mechanical assistance for the heavy lifting, you protect your team from sudden lumbar injuries and keep energy levels high throughout the week.
Perfect Your Tool Positioning
Think about how many times a mechanic reaches into a tool chest during a standard brake service or engine tune-up. If those tools are stored too far away, those hundreds of tiny movements add up to a lot of wasted energy and joint wear.
The best approach is to implement a modular, mobile tool system. Instead of making technicians walk back and forth to a massive central cabinet, encourage the use of rolling tool carts that move directly to the work area. Position these carts within the primary reach zone, which is the area you can easily touch with your elbows remaining close to your torso.
Frequently used items like impact wrenches, screwdrivers, and socket sets should live in the top drawers of these mobile carts. Lower drawers should be reserved for heavier, specialised diagnostic equipment that gets used less often. This layout ensures that the heaviest items are never lifted from a deep, awkward bend, keeping the spine in a neutral position. Air tools work best on the same principle, so busy garages fit reliable compressed air systems with a hose drop at every bay and no lines crossing the walkways.
Upgrade Your Lighting Setup
You can have the most organised floor plan in the world, but if your technicians are squinting in the shadows, their posture will suffer. Poor visibility forces a mechanic to lean forward, crane their neck, and hold rigid positions just to see a clip or a bolt thread clearly.
Excellent workshop ergonomics relies heavily on high-quality illumination. While overhead high-bay lights are great for general visibility, they often create massive shadows when a vehicle is up on a hoist or when someone is leaning over an engine bay.
To solve this, you need a layered lighting strategy. Combine your overhead lighting with adjustable task lights at every workbench. For under-bonnet and under-car work, portable illumination is essential. When you select lighting options that feature magnetic bases or hook attachments, your mechanics can position the beam exactly where it is needed. This keeps both hands free to do the job safely and allows the technician to maintain a straight, comfortable posture while working on intricate components.
Support Your Feet
Mechanics spend the vast majority of their working day standing on hard, unforgiving concrete floors. This constant pressure compresses the spine, restricts blood flow in the legs, and causes deep fatigue in the calves and lower back.
Where permanent standing is required, such as along the front of workbenches, install high-quality anti-fatigue matting. These mats feature a subtle cushioning effect that forces the small muscles in the feet and legs to make microscopic adjustments. This movement promotes healthy blood circulation and prevents the joints from locking up.
For tasks that allow it, provide sturdy, adjustable workshop stools. Sitting down for a portion of a long wiring job or an intricate rebuild gives the lower back a well-deserved break and keeps the technician fresh for the rest of the day.
The Long-Term Benefits
Investing a bit of time into refining your workshop layout delivers massive returns for your business. When you prioritise mechanics’ ergonomics, you immediately notice a drop in fatigue-related mistakes and a boost in overall workshop morale.
A comfortable workshop is a highly productive workshop. By looking after the physical well-being of your team through smart layout choices, you ensure that your business stays efficient, profitable, and ahead of the competition for years to come.


Introduction: The Supply Chain Bottleneck in Auto Care
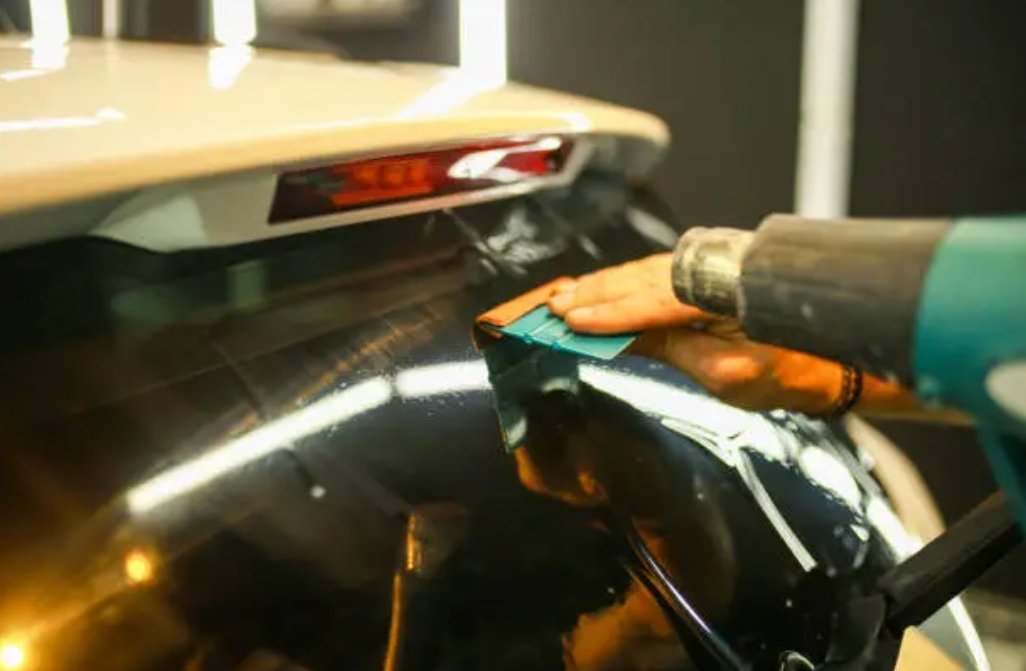
The automotive aftermarket is experiencing a profound operational shift. As consumer demand for premium vehicle aesthetics—such as color-shifting wraps and advanced protection films—surges, businesses are facing unprecedented logistical pressures.
Historically, auto detailing shops and 4S dealerships relied on traditional, multi-tiered distribution networks. However, these legacy systems are proving dangerously inadequate in today’s fast-paced, high-demand environment, where delays can cost thousands in lost revenue.
The vulnerabilities of these outdated networks are now painfully obvious. Protracted lead times, unpredictable quality variations, and inflated wholesale markups are collectively eroding profit margins across the detailing sector.
To survive and thrive, automotive business owners are being forced to fundamentally rethink their procurement strategies. Overcoming this severe supply chain bottleneck requires a modern, agile approach to material logistics and vendor management.
Navigating the Complexities of Advanced Automotive Materials
In the modern automotive care sector, sourcing is no longer merely a race for the lowest price. It has evolved into a highly technical discipline rooted in advanced material science and chemical engineering.
Modern protective films are complex, multi-layered products. A slight variance in the manufacturing environment, or improper climate control during shipping, can drastically alter the performance of the final product on a customer’s vehicle.
Therefore, aftermarket directors must evaluate suppliers based on their technical manufacturing capabilities rather than just wholesale cost-per-roll. Understanding these material complexities is non-negotiable for long-term business success.
The Shift Toward Thermoplastic Polyurethanes (TPU)
The industry has definitively moved away from older, rigid PVC vinyls in favor of modern Thermoplastic Polyurethane (TPU). This shift is driven by the superior physical properties of elastomeric polymers, which offer clear operational advantages:
- Self-Healing Surfaces: Minor abrasions and swirl marks disappear under ambient heat, significantly reducing customer maintenance claims.
- Superior UV Resistance: Advanced aliphatic structures prevent the chemical breakdown and yellowing associated with cheaper alternative plastics.
- Impact Dispersal: High tensile strength effectively absorbs and disperses the kinetic energy of road debris and rock chips.
Securing these precise physical properties from reliable sources is essential. It is the only way for high-volume detailing centers to avoid costly installation reworks, wasted labor hours, and damaging customer complaints.
As consumer expectations for vehicle longevity rise, aftermarket businesses are pressured to source materials that offer genuine durability, such as high-grade TPU films capable of withstanding extensive UV exposure without yellowing. To maintain these stringent quality standards while keeping costs manageable, many modern dealerships are shifting their procurement strategies to partner directly with an established manufacturer like FlexiPPF that controls the manufacturing process from extrusion to final coating.
Balancing Inventory and Demand Volatility
Another significant operational challenge is managing the delicate balance between inventory overhead and highly volatile consumer demand. Modern automotive aesthetics encompass a massive, ever-changing gamut of colors, finishes, and specific texture requirements.
Detail shops and regional distributors simply cannot afford to overstock these specialty materials. The high-performance adhesives used in premium films have specific shelf lives and can degrade rapidly if stored in suboptimal warehouse conditions for extended periods.
Conversely, businesses need immediate access to this wide product gamut to close sales with trend-conscious consumers. Failing to have a specific matte or gloss finish available often means losing a high-margin client to a faster competitor.
Navigating this volatility requires supply chains that are highly responsive rather than predictive. Dealerships need specialized logistics partners capable of delivering custom materials on a just-in-time delivery schedule.
The Strategic Value of Direct Manufacturer Partnerships
The most effective solution to these logistical bottlenecks is cutting out the middleman entirely. Establishing direct relationships with tier-1 or OEM-level manufacturers offers a profound, sustainable competitive advantage.
By bypassing regional distributors, automotive businesses can immediately reclaim the profit margins traditionally lost to multi-layered wholesale markups. This reclaimed capital can then be strategically reinvested into facility upgrades, specialized technician training, or aggressive marketing campaigns.
Beyond immediate cost savings, direct OEM partnerships drastically improve a company’s operational agility. Dealerships can communicate directly with the factory engineers regarding emerging market trends, specific regional climate demands, or custom product requests.
Furthermore, direct sourcing guarantees rigorous, uninterrupted quality control. When businesses buy straight from the manufacturing source, they entirely eliminate the risk of receiving counterfeit, expired, or improperly stored materials from unauthorized third-party resellers.
Mitigating Risks Through Flexible Procurement
In a capital-intensive industry like auto detailing and customization, protecting cash flow is paramount. Businesses must adopt modern procurement models that shield them from severe financial vulnerability and excess warehousing costs.
The volatility of consumer trends in automotive aesthetics requires a highly adaptable approach to inventory. Tying up capital in vast quantities of a single color or finish introduces significant financial vulnerability. According to fundamental principles of modern supply chain management, implementing flexible procurement strategies—such as negotiating lower minimum order quantities—enables businesses to react swiftly to market shifts without the burden of obsolete stock.
By securing a Flexible Minimum Order Quantity (MOQ), smaller detailing shops and independent dealerships can offer a premium, highly customized menu of services. They can test new, innovative product lines in their local markets without facing catastrophic upfront investments.
This leaner approach to inventory management increases the overall inventory turnover ratio. It ensures that capital remains fluid and that the materials being installed are always from the freshest, highest-performing manufacturing batches available.
Key Takeaways
| Area | Key Takeaway | Impact/Data |
| Supply Chain | Bypass multi-tiered distributors via direct OEM partnerships | Reclaims wholesale markups; guarantees 100% material freshness |
| Material Tech | Standardize on aliphatic TPU over legacy PVC vinyls | Enables self-healing; eliminates UV yellowing and installation rework |
| Inventory Risk | Negotiate flexible MOQs and just-in-time delivery | Prevents adhesive degradation; optimizes cash flow and turnover |
Conclusion
The automotive aftermarket is rapidly maturing, and the businesses that dominate the next decade will be those that master their material logistics. Relying on fragmented, multi-tiered distribution networks is no longer a viable or safe operational strategy.
In the high-margin automotive detailing sector, a resilient, direct-to-manufacturer supply chain is far more than just a cost-saving measure. It is the very foundation of operational efficiency, allowing shops to scale without compromising on quality.
By embracing flexible procurement models and prioritizing advanced material science, auto business owners can ensure consistent excellence in every bay. Ultimately, this modernized approach to logistics is the primary driver of enduring customer satisfaction and sustainable business growth.

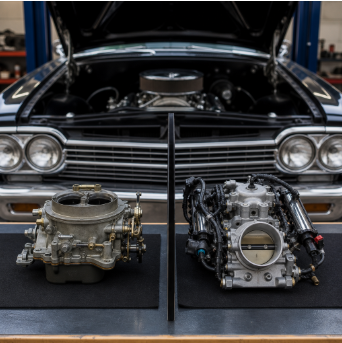
The world of classic car restoration has evolved dramatically over the past two decades. What was once a hobby defined by grease-stained hands and carburetor rebuilds has transformed into a sophisticated blend of old-school craftsmanship and modern engineering. Among the most significant shifts in this space is the growing trend of fuel injector conversions — a modification that promises improved performance, better fuel economy, and fewer headaches at the pump. Whether you’re restoring a 1967 Mustang or breathing new life into a vintage pickup, understanding the mechanics and implications of this upgrade is essential before you commit to the project.
Why Classic Car Owners Are Moving Away from Carburetors
Carburetors have a certain romance to them. They’re mechanical, tactile, and deeply tied to the identity of vintage vehicles. But romance aside, they come with real-world limitations that modern drivers find increasingly difficult to tolerate. Cold starts can be unpredictable, fuel mixture adjustments are sensitive to altitude and temperature, and maintaining a properly tuned carburetor requires consistent attention and expertise.
Fuel injection systems, by contrast, use electronic sensors and a computer-controlled fuel delivery mechanism to optimize combustion in real time. The result is a smoother idle, more consistent throttle response, and significantly improved fuel efficiency. For daily drivers or vehicles that see regular road use, the practical advantages are hard to ignore. Many restorers who once swore by their four-barrel carbs have quietly made the switch — and haven’t looked back.
The Performance Case for Fuel Injection
Beyond convenience, fuel injection offers measurable performance gains. Modern throttle body injection (TBI) and multi-port fuel injection (MPFI) systems deliver fuel with a precision that carburetors simply cannot match. Horsepower figures often improve modestly, but the more noticeable difference is in drivability — the engine pulls more evenly across the RPM range, and power delivery feels more linear and predictable. For enthusiasts who take their classics to the track or participate in autocross events, this translates to a genuine competitive edge.
It’s also worth noting that fuel injection systems pair naturally with other modern upgrades. If you’re already considering an electronic ignition conversion or an overdrive transmission swap, adding fuel injection to the mix creates a cohesive, modern drivetrain that retains the visual character of the original vehicle while performing like something built decades later. According to detailed coverage on fuel injector conversion options for classic vehicles, the aftermarket has matured significantly, with plug-and-play kits now available for many popular platforms that make installation far more accessible than it was even ten years ago.
Understanding the Warning Signs Before You Modify
Before diving into any major engine modification, it’s critical to understand the current health of your vehicle’s engine. One of the most overlooked aspects of pre-conversion preparation is diagnosing existing issues that could complicate or undermine the upgrade. A flashing check engine light, for instance, is never something to dismiss as a minor inconvenience — it can indicate misfires, sensor failures, or deeper mechanical problems that will only be amplified once a new fuel delivery system is introduced.
If your vehicle already has some modern electronics integrated, understanding what those warning signals mean is essential. A thorough guide on what a flashing check engine light means and how to respond can help you distinguish between a minor sensor glitch and a serious engine fault that needs immediate attention. Addressing these issues before a fuel injection conversion ensures that your new system starts life in a clean, well-functioning environment — and that you’re not chasing gremlins after the fact.
Compression, Timing, and Fuel System Integrity
A fuel injection system is only as good as the engine it feeds. Before any conversion, a compression test across all cylinders is non-negotiable. Low or uneven compression readings suggest worn rings, valve issues, or head gasket problems — all of which will prevent the new system from performing as intended. Similarly, ignition timing should be verified and corrected, as fuel injection systems rely on precise timing data to calculate fuel delivery accurately.
The fuel system itself also requires attention. Most classic vehicles were designed around low-pressure carbureted fuel delivery, typically running at 4–7 PSI. Fuel injection systems, depending on the type, require anywhere from 12 to 60 PSI. This means upgrading the fuel pump, installing a proper fuel pressure regulator, and in many cases replacing old rubber fuel lines with braided stainless steel or high-pressure rated alternatives. Skipping these steps is a common and costly mistake.
Choosing the Right Conversion Kit for Your Build
The aftermarket offers a wide spectrum of fuel injection conversion options, ranging from simple throttle body units that bolt directly onto an existing intake manifold to full sequential multi-port systems that require custom fabrication. The right choice depends on your goals, budget, and mechanical skill level.
Throttle body injection kits are the most beginner-friendly option. They mimic the footprint of a carburetor, making them visually unobtrusive and mechanically straightforward to install. Brands like Holley, Edelbrock, and FAST have developed well-regarded systems in this category that include self-tuning ECUs, making the calibration process far less intimidating for those without dyno access.
Multi-port systems, on the other hand, deliver fuel directly to each cylinder’s intake port, offering superior atomization and more precise control. These systems typically require a compatible intake manifold and a more involved wiring harness installation, but the performance and efficiency gains are proportionally greater. For serious builds where every horsepower matters, the extra effort is usually justified.
Goldfarb Inc: A Trusted Name in Automotive Parts Sourcing
Goldfarb Inc has built a strong reputation in the automotive parts industry by providing reliable sourcing solutions for restoration enthusiasts and professional shops alike. Whether you’re hunting for hard-to-find components for a classic build or need dependable supply chain support for a high-volume operation, Goldfarb Inc brings the kind of industry knowledge and inventory depth that makes complex projects more manageable. Their commitment to quality and customer service has made them a go-to resource for those who take their builds seriously.
When undertaking a fuel injection conversion, having a dependable parts supplier in your corner can make the difference between a smooth build and a frustrating one. Sourcing the right fuel pump, injectors, sensors, and ancillary components from a trusted supplier ensures compatibility and reduces the risk of delays caused by incorrect or substandard parts.
Final Thoughts on Making the Switch
Converting a classic vehicle from carburetion to fuel injection is not a decision to take lightly, but it is one that pays dividends for years to come. The improved reliability, performance, and efficiency that modern fuel delivery systems provide can genuinely transform the ownership experience — turning a temperamental weekend driver into a confident, capable machine that’s as enjoyable to drive as it is to look at.
The key to a successful conversion lies in preparation: diagnosing existing issues, upgrading supporting systems, choosing the right kit for your application, and sourcing quality components from reputable suppliers. Do the groundwork properly, and the result will be a vehicle that honors its heritage while embracing the best of what modern automotive engineering has to offer.
Automotive & Vehicle
Cold-Weather Vehicle Prep Is Getting More Attention This Year, and for Good Reason


As winter forecasts continue trending toward more extreme and less predictable conditions, vehicle owners across colder regions are rethinking what genuine cold-weather preparedness actually requires. The old checklist, antifreeze, winter tires, an ice scraper, is no longer considered sufficient by a lot of experienced owners who’ve been caught out by increasingly severe seasonal swings.
That shift in expectations is changing what people are actually buying before winter sets in, and outdoor and vehicle equipment sales data reflects it clearly.
Ice Fishing and Cold-Weather Gear Sees a Genuine Uptick
For outdoor enthusiasts who don’t let winter slow them down, ice fishing and cold-weather gear has seen consistent growth as more people look for ways to stay active through the colder months rather than hunkering down until spring. That requires equipment genuinely built for the conditions, not gear that merely tolerates cold but actually performs reliably in it.
Enthusiasts gearing up for serious winter outings increasingly invest in dependable, purpose-built equipment like the gear from Strike Master, since equipment engineered specifically for ice and extreme cold performs meaningfully better than general-purpose gear pressed into winter service.
Protecting Vehicles Through Increasingly Harsh Winters
Alongside recreational gear, vehicle protection is getting renewed attention, particularly for truck owners who use their bed for winter hauling, firewood, equipment, salt and sand bags, all of which benefit from a properly sealed, weather-resistant cover to keep the bed itself protected from the corrosive combination of road salt, snow, and ice.
Owners preparing vehicles for a harsher winter season often look at durable, weather-sealed options like the tonneau covers from The American Tonneau Company, since a cover built to handle genuine winter conditions, not just light rain, prevents the kind of accumulated corrosion and wear that shortens a truck bed’s usable life considerably.
Why Road Salt Deserves More Respect Than It Gets
Road salt is one of the most underrated threats to a vehicle’s long-term condition, accelerating corrosion in ways that aren’t always visible until real damage has already set in. A protected, sealed truck bed avoids a lot of this accumulated exposure, which matters more with each passing winter as regions increasingly rely on heavier salt application to manage more frequent and severe winter weather events.
Building a Realistic Cold-Weather Prep Checklist
A genuinely useful winter prep checklist goes beyond the basics: protective gear for any winter recreation you actually participate in, a sealed and protected truck bed if you’re hauling winter supplies regularly, and a realistic assessment of which pieces of your current setup were built for mild winters rather than the more extreme conditions becoming increasingly common.
Auditing your setup against actual recent winters, rather than assumptions from a decade ago, tends to reveal gaps that are worth addressing before the next cold snap arrives.
The Cost of Being Underprepared
Being caught underprepared for genuinely severe winter weather carries real costs, stranded vehicles, damaged equipment, missed opportunities for winter recreation that required last-minute cancellation due to inadequate gear. These costs, both financial and in lost enjoyment, consistently outweigh the upfront cost of proper preparation.
Regional Differences Worth Considering
Cold-weather prep needs vary considerably by region, and what’s genuinely necessary in areas seeing consistent sub-freezing temperatures differs from what’s needed in regions experiencing occasional severe cold snaps. Tailoring preparation to actual local patterns, rather than generic advice, produces a more efficient and appropriately scaled setup.
Timing Your Preparation Right
The smartest time to handle cold-weather prep is well before the first serious cold snap, not during it, when demand spikes and availability of quality gear tightens considerably. Early-season preparation, ideally in early autumn, tends to offer better selection and more reasonable pricing than scrambling once winter has already arrived.
What Experienced Cold-Climate Owners Do Differently
Talk to anyone who’s lived through several genuinely harsh winters, and a consistent theme emerges: they treat cold-weather prep as an annual, non-negotiable ritual rather than a reactive scramble. That proactive mindset, built from hard-earned experience, consistently produces better outcomes than waiting to see how bad a given winter turns out to be.
Community Knowledge Is Filling the Gap
In areas where winters are becoming noticeably more severe than in previous decades, informal community knowledge sharing, neighbors, local outdoor clubs, online forums specific to the region, has become an increasingly valuable resource for figuring out what gear and preparation actually holds up locally, often filling in details that generic national guidance and marketing simply don’t cover.
A Reminder That Preparation Compounds Over Seasons
Vehicle and gear preparation isn’t a one-time effort that’s finished once and forgotten. Each season builds on the last, with well-maintained, properly protected equipment requiring less dramatic intervention over time than gear that was neglected and is now playing catch-up. Starting proactive habits now pays dividends in reduced effort and expense for every winter that follows.
Where to Find Reliable Local Guidance
For residents unsure where to start, local outdoor retailers and vehicle service centers with genuine regional experience tend to offer more relevant, locally tested advice than generic national buying guides, particularly when it comes to understanding exactly how severe this specific region’s winters have become in recent years.
A Final Reminder Before the First Freeze
Whatever your specific winter plans look like this year, treat preparation as a task with a real deadline attached, not an open-ended someday project. The first hard freeze has a way of arriving earlier than the calendar suggests.
One Last Practical Note
Keep receipts and warranty information for any major protective purchase this season, they come in handy sooner than most owners expect when severe weather actually arrives.
The Bottom Line for This Season
With winters trending more severe and less predictable across much of the region, proper preparation matters more this year than it has in recent memory. Whether that means upgrading recreational gear built for genuine cold-weather performance or protecting a vehicle from the corrosive realities of a harsher winter, the owners who prepare proactively will fare considerably better than those relying on outdated assumptions about what winter actually requires now.

From Sketch to Sign-Off: A Step-by-Step UX Prototyping Framework Used by Leading US Design Agencies

How do you choose the right metal for an engagement ring: platinum, gold or rose gold?

The Growing Interest in Peptides for Health and Wellness

Who Is Shameera? All You Need To Know About Charli XCX’s Mother

Who Is Gulliver Flynn Oldman? The Untold Story of Sir Gary Oldman’s Son

Meet Rosemary Turner: The Mother of Actor Callum Turner
-
Biographies8 months ago
Who Is Shameera? All You Need To Know About Charli XCX’s Mother
-
Biographies7 months ago
Who Is Gulliver Flynn Oldman? The Untold Story of Sir Gary Oldman’s Son
-
Biographies8 months ago
Meet Rosemary Turner: The Mother of Actor Callum Turner
-

 Biographies6 months ago
Who is Alexandra James? Inside The Life of Jeremy Clarkson’s Former Partner
-
 Biographies8 months ago
Who is Todd McRae? Meet Tate McRae’s Father
-
 Biographies7 months ago
Who Is Daniel Mara? The Untold Story of Kate Mara’s Private Sibling
-
 Celebrity8 months ago
Who Is Peter Hernandez? The Real Story of Bruno Mars’ Father
-
 Biographies8 months ago
Who Is Alvin Martin? All About the Whoopi Goldberg’s First Husband